This tutorial presents the way to install Debian from the command line. This tutorial allows to understand the installation process of Debian (here the 10.6 version but there is little change between versions) in command line in order to realize various projects. This is the form in which we will deploy most of our servers in other tutorials. This allows us to have a minimalist version without unnecessary add-ons that could reduce the security of our installation.
First, download Debian from the publisher’s website. The latest version is available on the home page of the site. The most commonly used download link is available in the upper right corner.

You should then get an image with the extension .iso. Then use a USB key that will allow you to deploy it on a PC or a server. You can also install this image on a virtual machine. In this case you will have to indicate the path of your .iso image when you are asked to insert the operating system installation CD. To create a bootable USB stick, you can use the Rufus software. In Rufus you will have to select your USB key and your .iso image then Rufus will create the installation key. Connect your machine dedicated to the installation electrically as well as to the network (it will also be possible to use WIFI if your device has a dedicated card).
Then look for how to boot your PC/server on your USB stick. To do this you will need to search for the settings to access the BIOS of your machine and place the USB stick first in the order of booting the PC devices. Once you have booted on the USB stick, you should arrive on the following page :
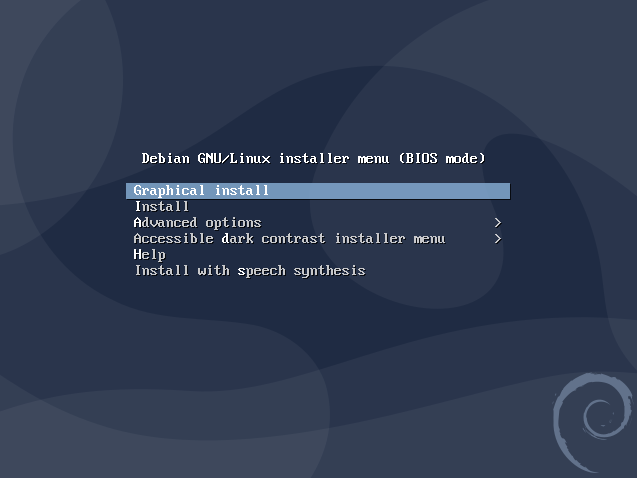
Choose install, the second line here.
Then choose your language settings :
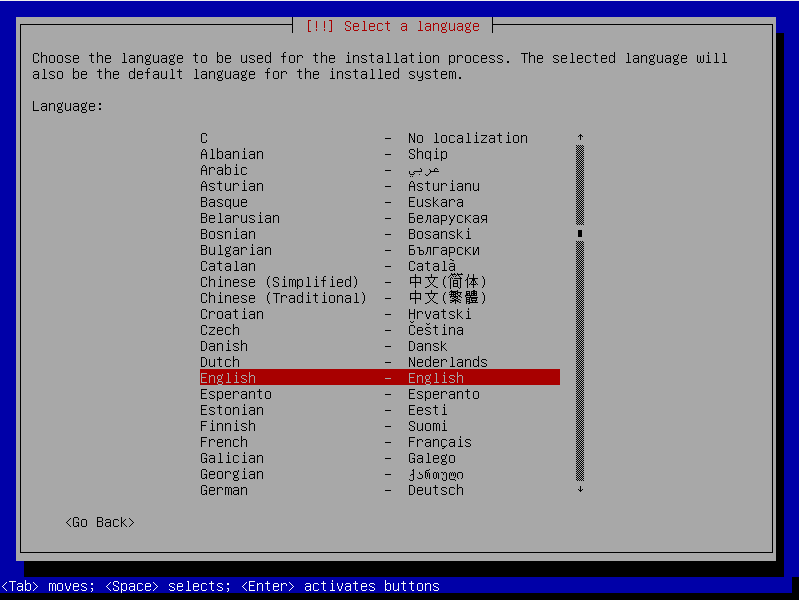
You can move with the navigation arrows of the keyboard and select with enter.
Different phases of installation will then follow one another.
You will be asked to choose a name for your machine :
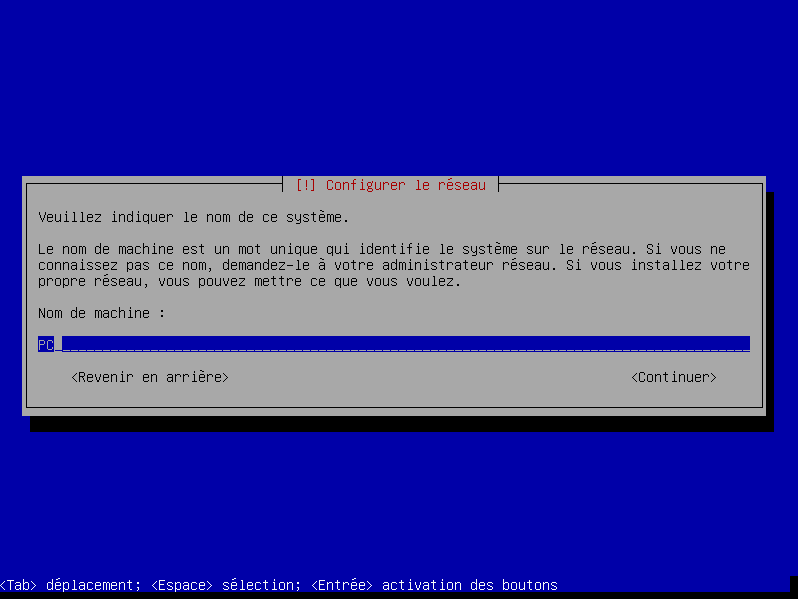
Type a name and press enter.
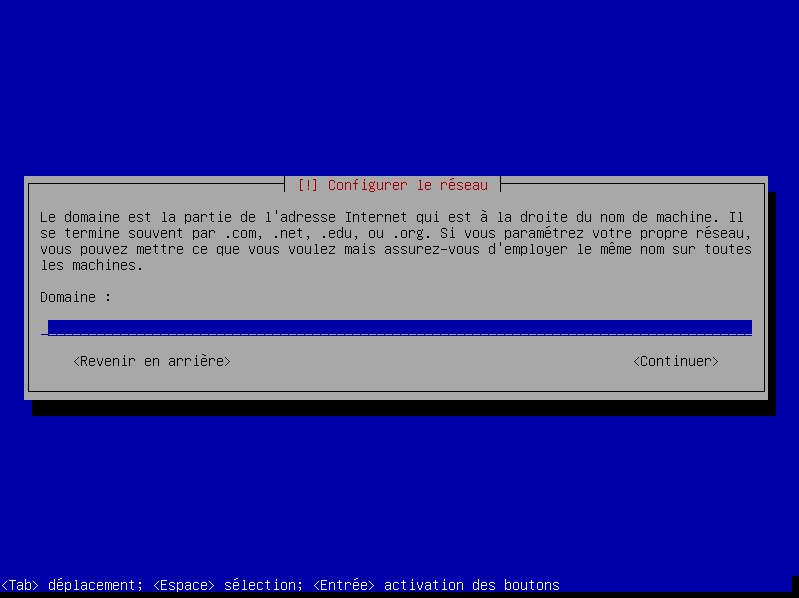
In the next menu, you will be asked for a domain name. If your facility is not available to a company, this step is optional for you. Leave the field empty and press enter. The network configuration will then begin. If you are connected via an Ethernet cable this should be automatic. If you are connected via WIFI, you will have to fill in the connection information.
You will then be asked for a Root password :
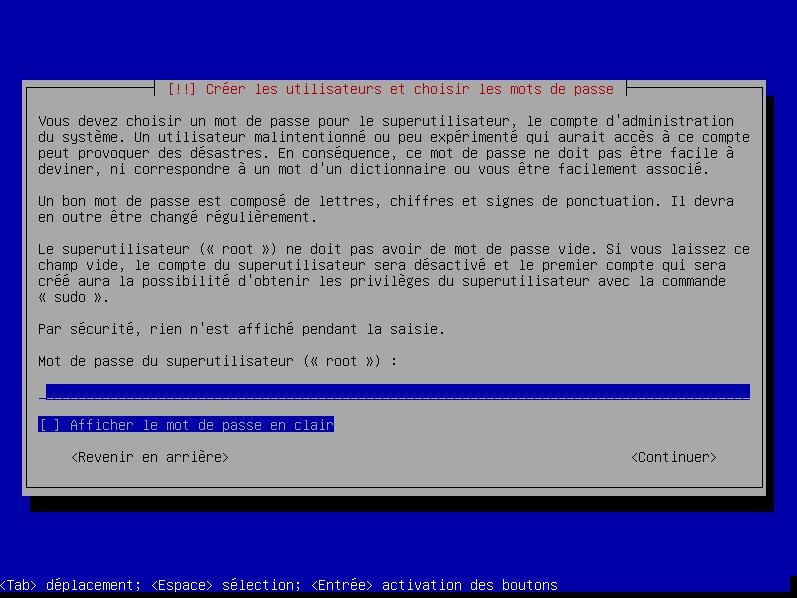
Root is the administrator account on your Debian machine. Make sure you choose a strong password and don’t forget it.
You will then be asked to confirm your password.
You will then be asked to create your user :
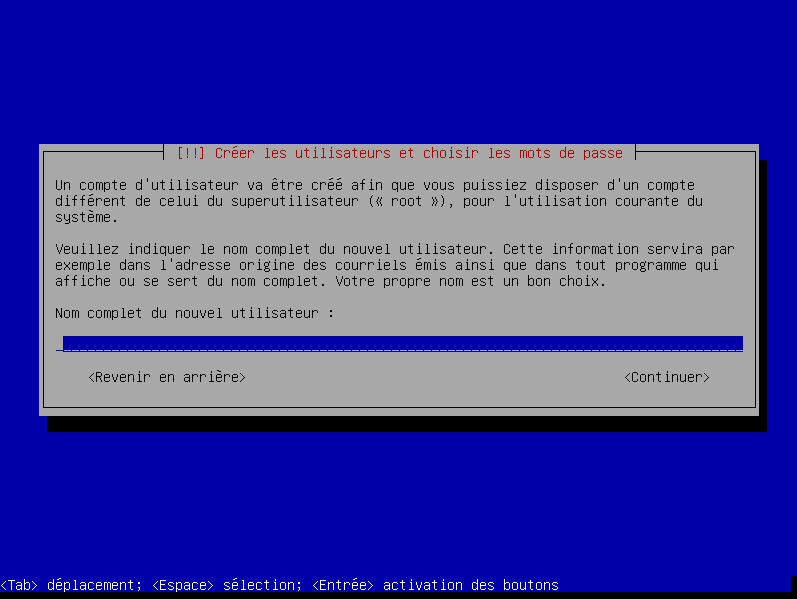
Indicate a name, a confirmation will be asked to you to validate that your login will be the same. Afterwards, you will be asked for a password and its confirmation :
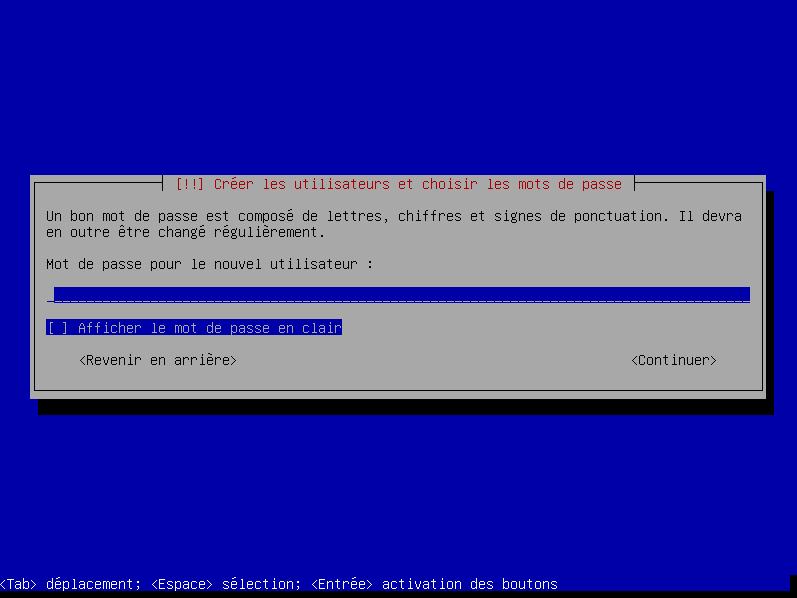
The creation of two users is a security feature to prevent the user from having too many rights. This prevents the installation of malicious software by the user, among other things.
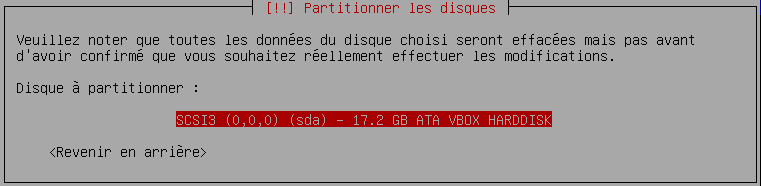
Then comes the turn of the disks configuration :

Here we assume that we will use the whole disk of the machine. This will overwrite the existing data to install our Debian system. If you want to use sensitive data on this future machine encrypt the hard disk. Here the disk will not be encrypted. I select the choice of an assisted partitioning.
On the next screen you will be asked on which disk you want to install the operating system, usually you will have only one or two. So choose the default one and click on enter.
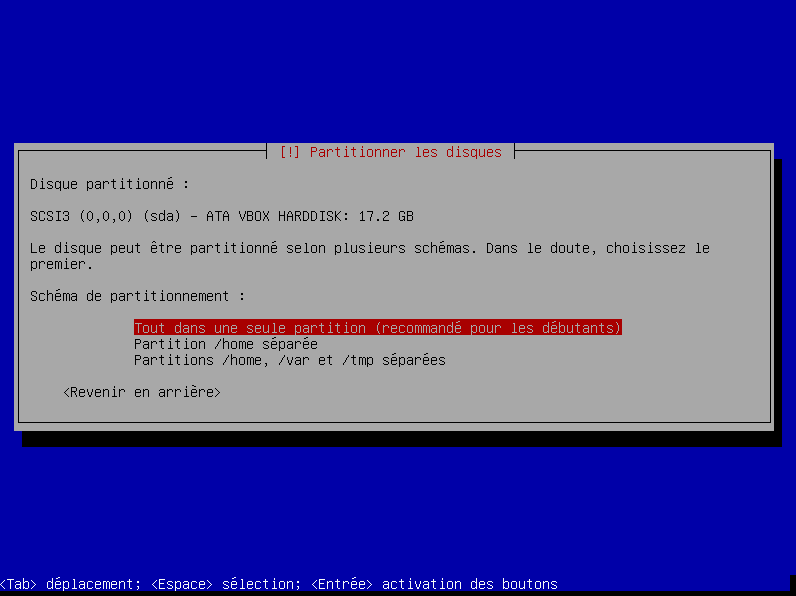
Then choose the default partitioning method if you have no specific needs :
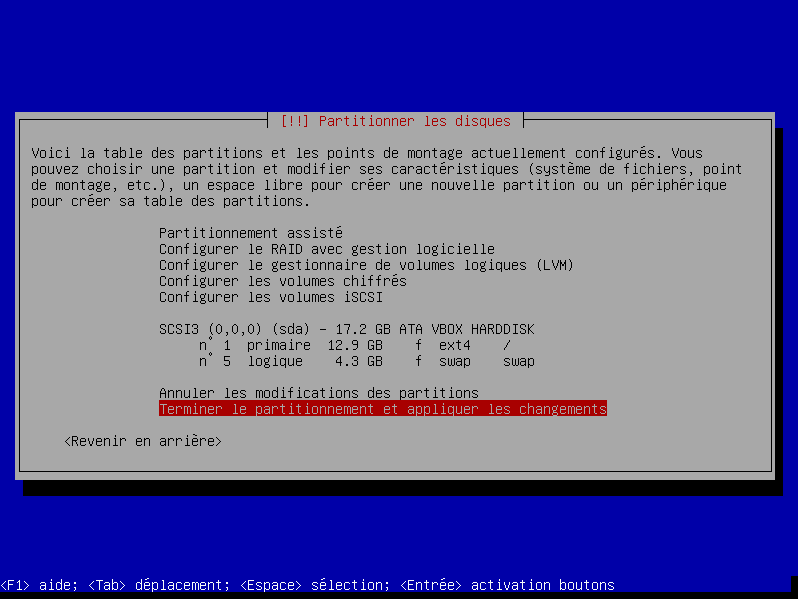
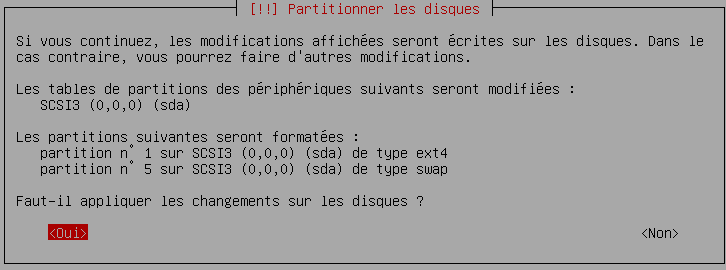
Then validate the changes on the disks :
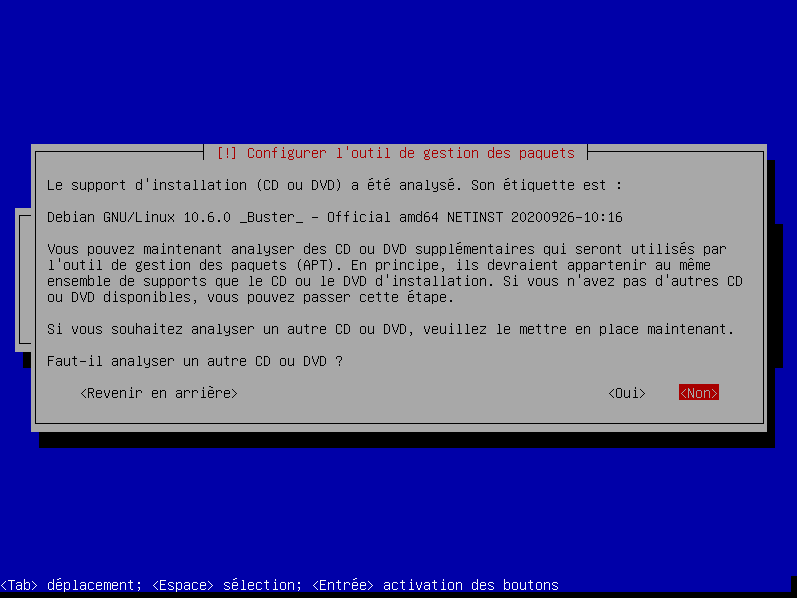
The system installation will then proceed. At the end of the installation, you will be asked if you have another installation CD. Choose no and continue :
You will then be asked to choose an update repository. Choose your country :
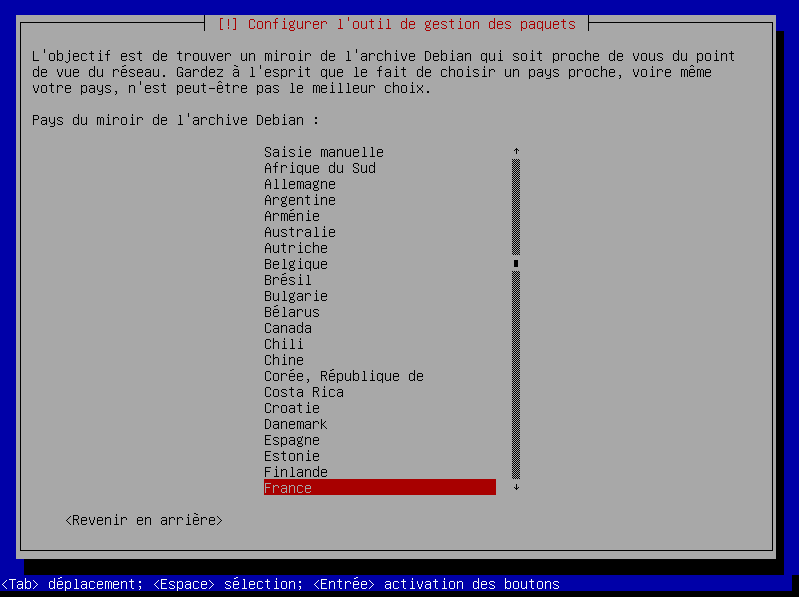
Then choose the repository to which you want to retrieve your updates. Choose the default one if you don’t have specific needs:

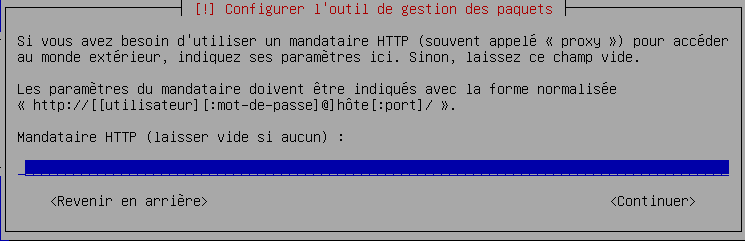
The utility will then ask you if you have a proxy on your network. This step is usually not useful in a private environment. Simply click enter :
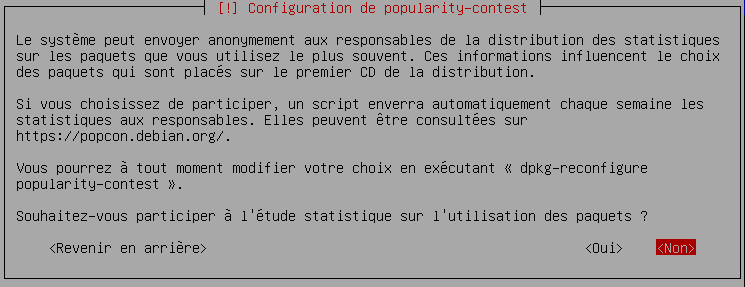
The utility will then download update packages. It will then ask you if you want to participate in the package usage study. This is not mandatory, you can choose no.
Then the utility will ask you what software you need :
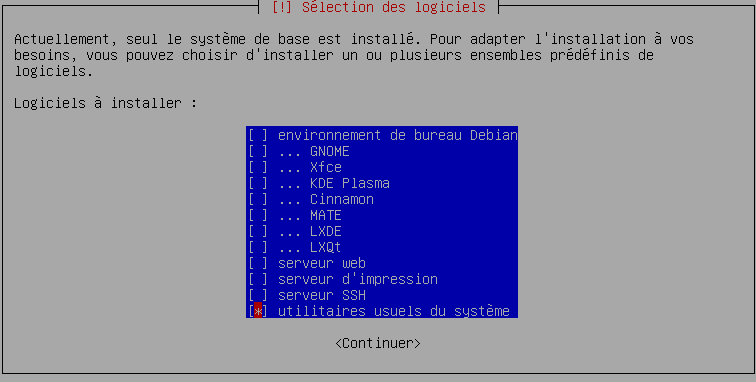
Here for a server you don’t need a graphical interface, or anything else except the usual system utilities. It is better to install what you want afterwards. You can check the choice boxes by pressing the space bar, move with the directional arrows between the lines.
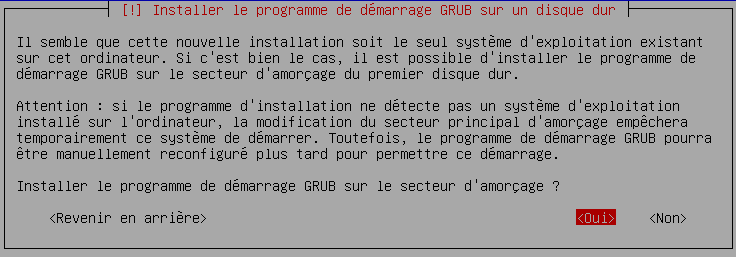
Then install the GRUB boot loader, choose yes :
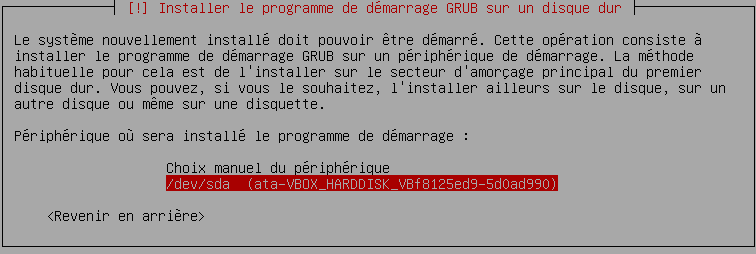
Then choose your disk to install it on :
The installation is now complete :

Remove your installation USB key and choose continue.
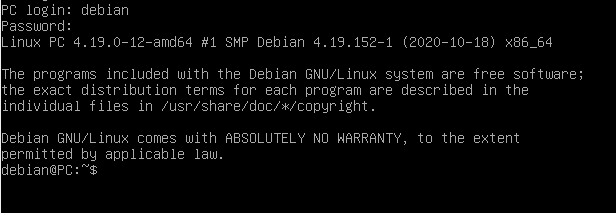
The system will then reboot and arrive at the command line login page. You can login with the credentials of the user you created.

Type your login and press enter, the system will ask you for your password. Be careful, it will not be displayed. At the end just press enter and you will be connected.
Our installation is now complete and your machine is ready for your future server installations.
Sources :
Debian : site officiel
Rufus : site officiel