To make a proxy to limit the WEB access to certain categories of sites, you can install a SQUID proxy on PFSENSE.
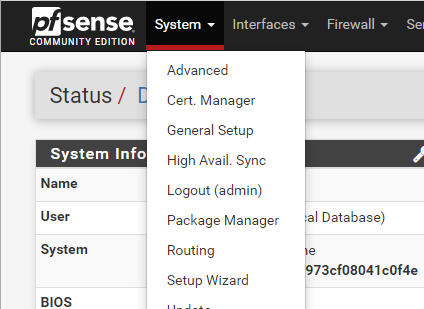
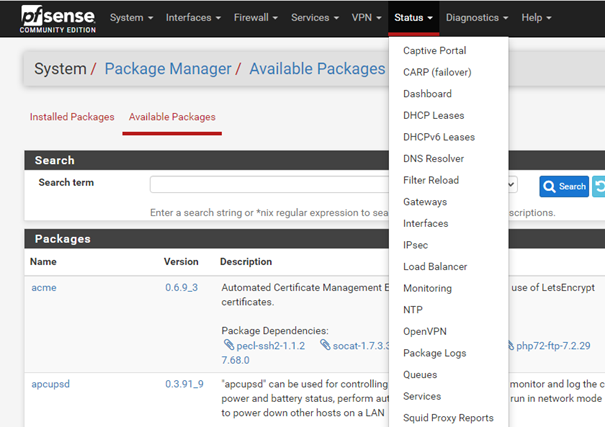
To do this, click on the « System » tab and then on « Package Manager » to install a new service.
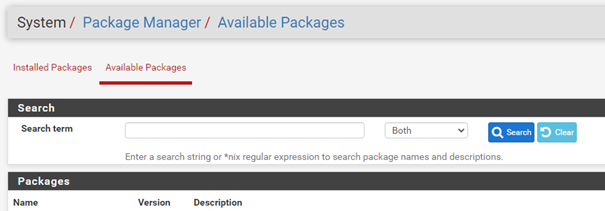
In this menu, click on « Available Packages » and search for SQUID.
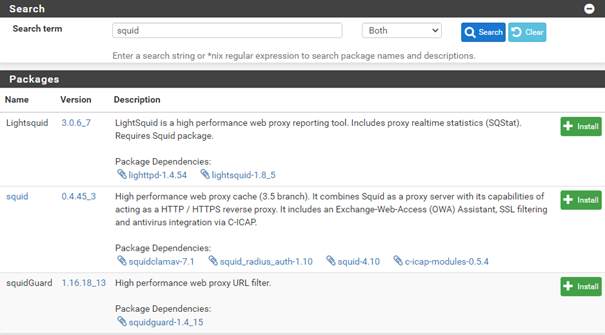
Then install the Lightsquid, SQUID and SQUIDGUARD packages.
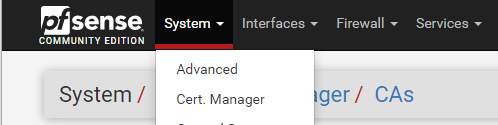
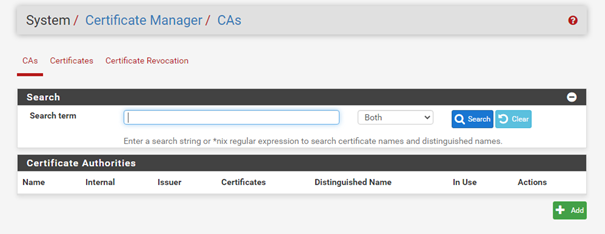
Then open the certificate manager, via the « System » tab and then « Cert Manager ».
We will first create a certification authority. This will allow us to generate a certificate that we will then distribute to our clients in order to make the proxy transparent.
Click on the button » ADD » :
Fill in the fields according to your needs and click on save. Here I filled in a name and indicated that I wanted to create a certification authority.
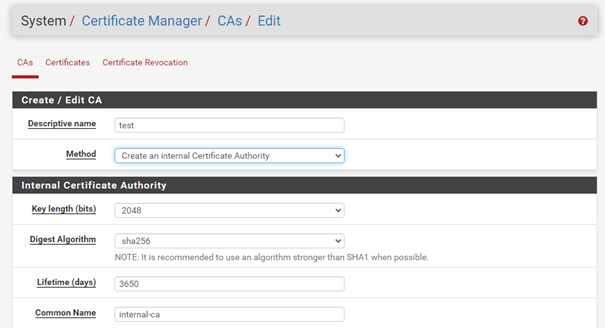
You should then obtain your certification authority :

To deploy the Certificate, we will proceed manually :
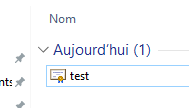
Once the certificate is generated, click on the star in the small logos on the right. This will allow you to export your certificate.

It will then be downloaded to your computer.
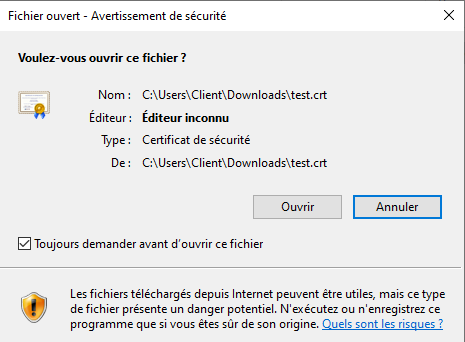
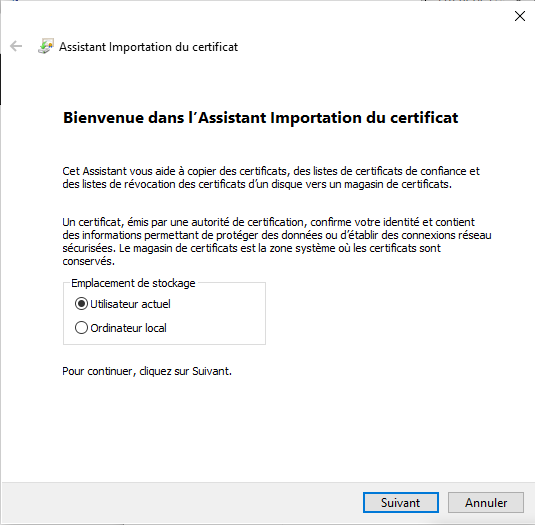
Double click on it to install it :
Click on install a certificate.
We deploy it for the current user.
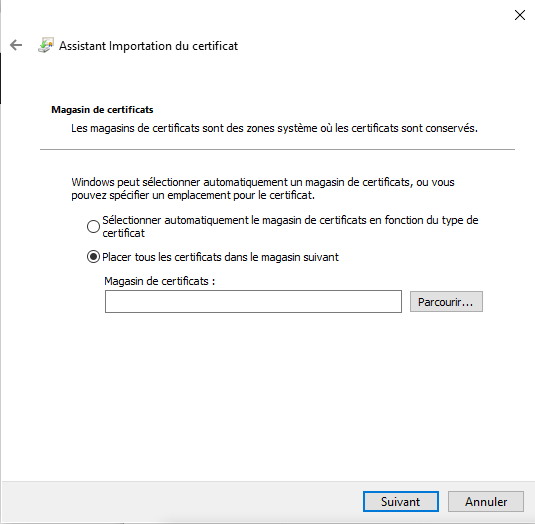
We will place it in a specific store :
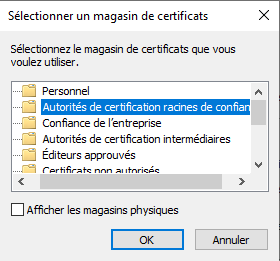
Select « Trusted Root Certification Authorities » :
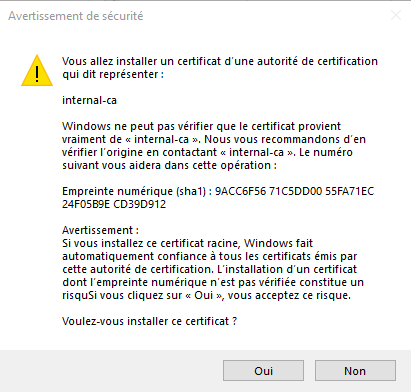
Finally finish the installation.
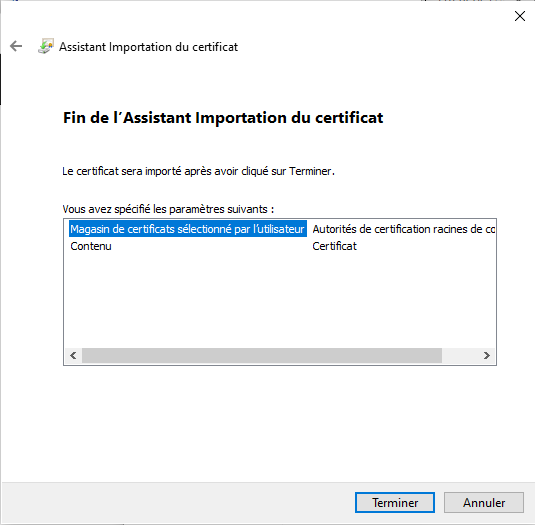
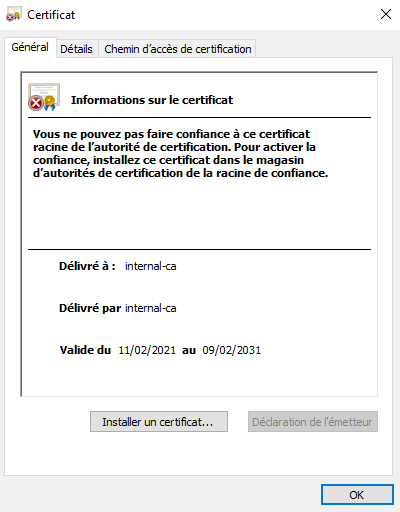
Validate the security warning.
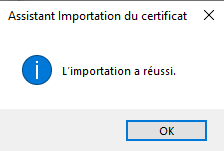
The import will then succeed.
To deploy this certificate massively, it is possible to deploy it via GPOs on all the workstations of a network.
We will now move on to the configuration of SQUID :
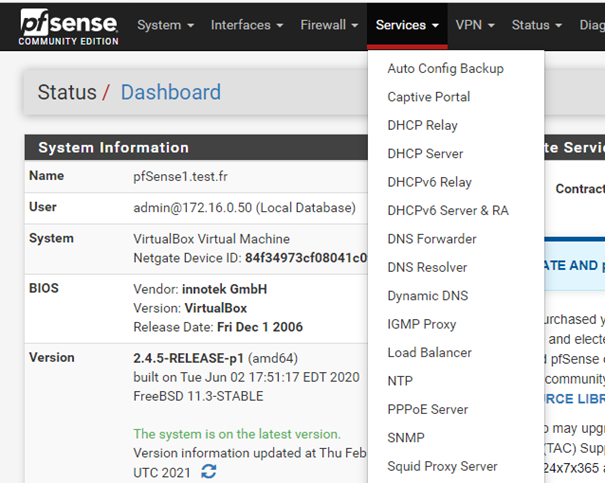
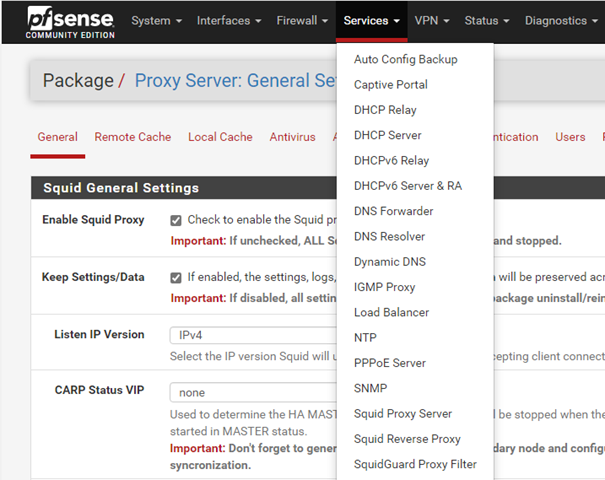
Via the « Services » tab, open « Squid Proxy Server ».
First go to « Local Cache ». For Hard Disk Cache Size, define a value, here I indicate 1000Mb. Then save your configuration by clicking on « Save ».

Then go to the « General » page, check the box « Check to enable the squid proxy ».
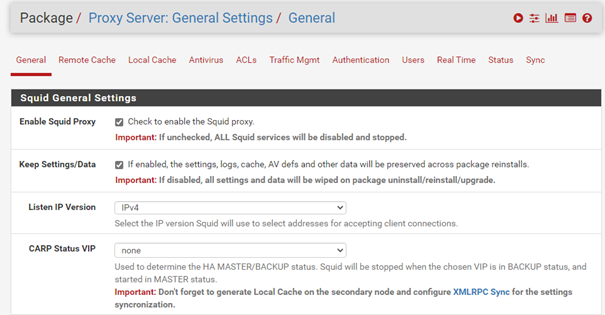
Check the box « Resolve DNS IPv4 First » to avoid problems with access to HTTPS sites.

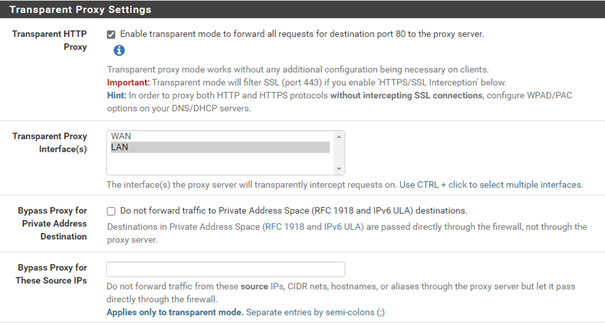
Then check the « Transparent http Proxy » box.
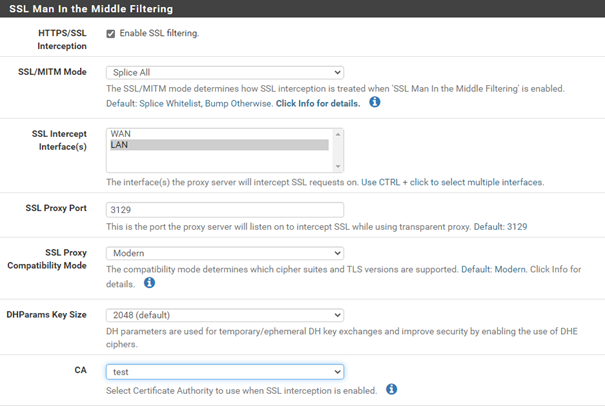
Enable HTTPS filtering by checking the HTTPS/SSL Interception box. Further down in CA choose the certification authority you just created.
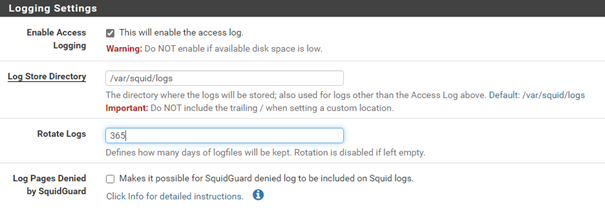
If legally required, you can log access by checking the « Enable Access Logging » box and set the retention time in « Rotate Logs ». Make sure you have plenty of storage.
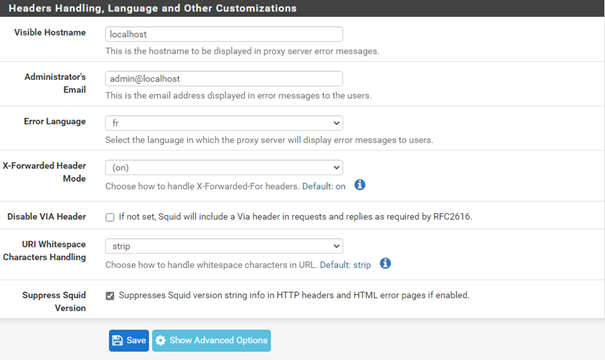
Define your language settings in « Error Language ». Finally, check the « Suppress Squid Version » box.
Finally, click on Save to save all the settings you have entered.
Now go to the Services tab and then to « Squidguard Proxy Filter ».
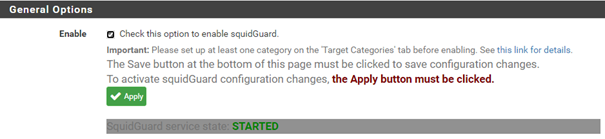
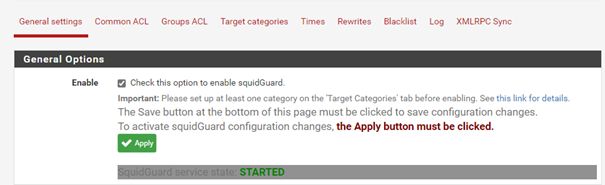
Check the box « Check this option to enable squidGuard » and click on « Apply ».
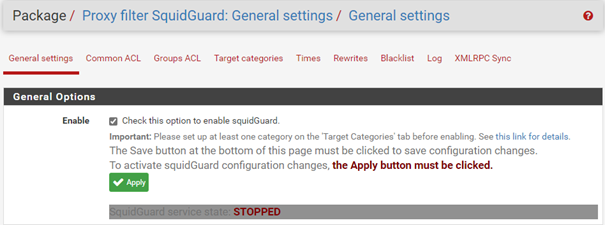
The service should be started :
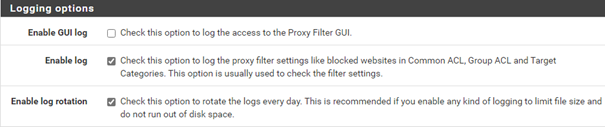
Check the « Enable Log » and « Enable Log rotation » boxes to track events on the proxy.
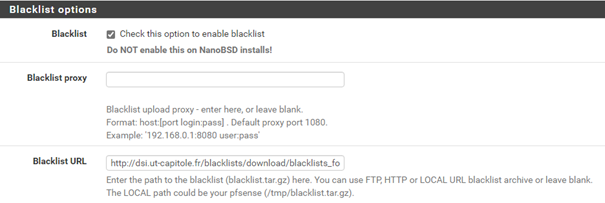
We will then use a blacklist to block certain content. Check the « blacklist » box.
You can use the list of the University of Toulouse in the field « blacklist URL »:
http://dsi.ut-capitole.fr/blacklists/download/blacklists_for_pfsense.tar.gz
Then click on » save « .
Then go to the tab » blacklist » :
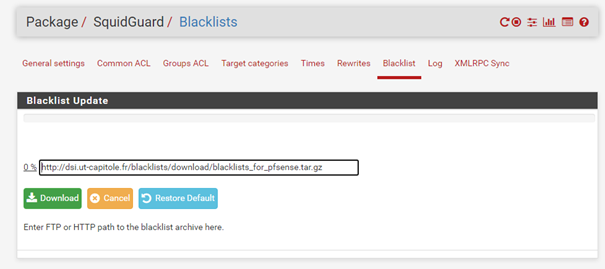
Click on the download button to download the filters.
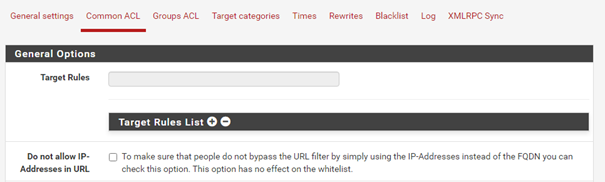
Once this is done, go to the « Common ACL » tab.
Click the « + » button on the « Target Rules List » menu.
You should get a menu like this :
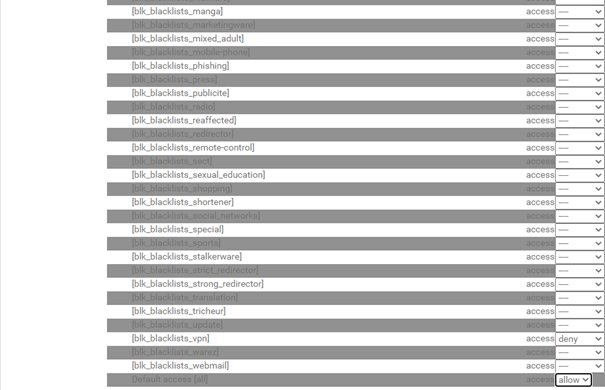
For the « Default access » line at the very bottom set your choice to « allow », then prohibit your categories by setting them to « deny ». Here I only block sites mentioning VPN or adult sites for the test.
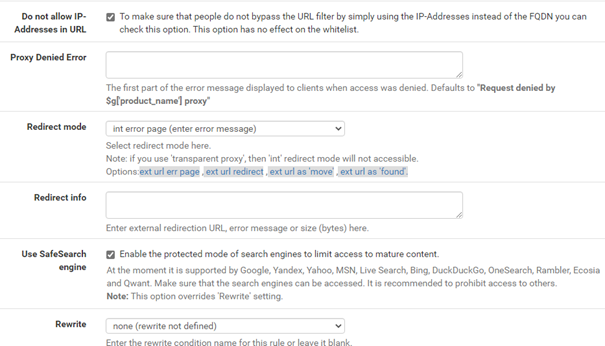
Check the boxes « Do not allow IP addresses in URL » and « Use SafeSearch engine ». Finally click on « save » to save the configuration.
Then go back to « General Settings » and click on « Apply ».
We will now configure Lightsquid. In the « Status » tab, click on « Squid Proxy Reports ».
Here you can change the login credentials for the Lightsquid page. By default, it will be the PFSENSE credentials.
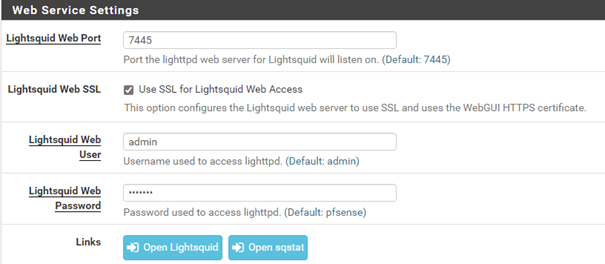
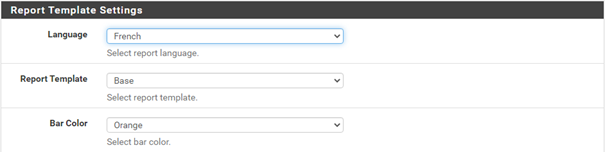
You can then change the language of the interface.
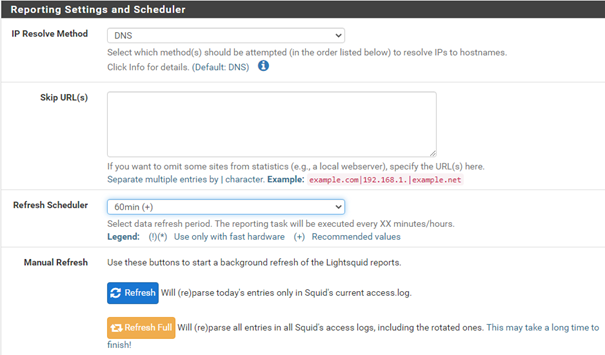
Then specify a refresh period in the interface in « Refresh Scheduler ».
Finally, click on « save ».
Then click on « Open Lightsquid ». A page with the log information should appear.
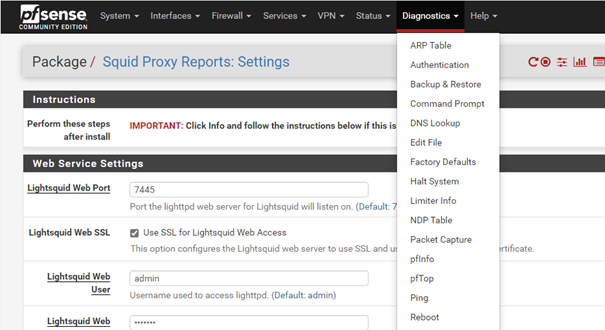
Then restart PFSENSE. In the « Diagnostics » tab, click « Reboot ».
Tests
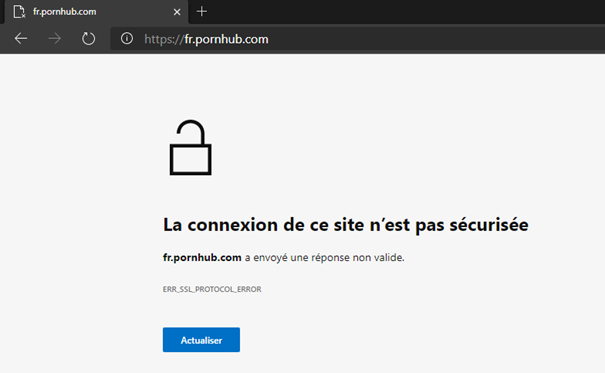
From the client machine, test a prohibited category to verify blocking :
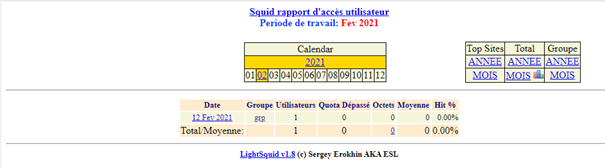
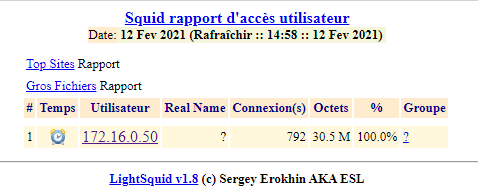
In the Lightsquid interface, you will then find the logs of the client machine :
Sources :
Pfsense.org : Download Pfsense